

Refreshing your home with a new coat of paint can be an exciting venture. However, achieving a truly stunning result goes beyond just selecting the right colour or using high-quality paint. The key lies in the careful preparation of your walls. This comprehensive guide is designed for homeowners embarking on a painting project. We will guide you through the essential steps of how to prepare your walls for residential painters, emphasising the significance of each phase. Whether you’re enlisting the help of a professional residential painting service or tackling the project on your own, we’ll underscore the importance of proper wall preparation. Additionally, we’ll explore how the expertise of professional painters, especially those accredited by Dulux, can enhance the overall outcome of your project.
Assessing Wall Conditions
The first step to any paint job is to inspect the surface you’re going to use for any imperfections as these can affect the result. This step is particularly useful if you want to paint interior walls as marks from busy households or age can lead to an uneven surface that a coat of paint will highlight. So here are a few tips to get you started properly:
- Inspecting for Flaws: Look for damage such as cracks, holes, and stains. The condition of your existing coat of paint – whether it’s acrylic paint, oil-based, or another type – needs to be assessed as it impacts the approach to your new paint job.
- Type of Paint: Identify the type of existing paint as this will guide your preparation process and influence your choice of new interior paint.
Surface Cleaning and Preparation
Now that you’ve inspected your walls, it’s time to get those walls sparkling. Doing this before you repair any dings allows the product and paint to cling to the surface better, allowing for a smoother surface.
- Appropriate Cleaning Solutions: Choose cleaning solutions that are gentle yet effective, avoiding those that might damage the wall or interfere with the new coat of paint. Sugar soap works well at getting everyday marks up but knowing what type of paint base your old walls have on makes this step far easier.
- Tackling Mould and Grease: In areas prone to dampness, address mould issues with a specific mould-killing solution. Grease and other stains should also be removed for a clean base.
- Extensive Dusting and Cleaning: Ensure that your walls are free of dust and dirt. Cleaning walls thoroughly is a critical step in preparing to paint walls. It’s also a great time to make sure that you get those skirting boards and corners that you’ve been putting off so that when you peel up that painters tape, nothing takes your attention away from the finished result.
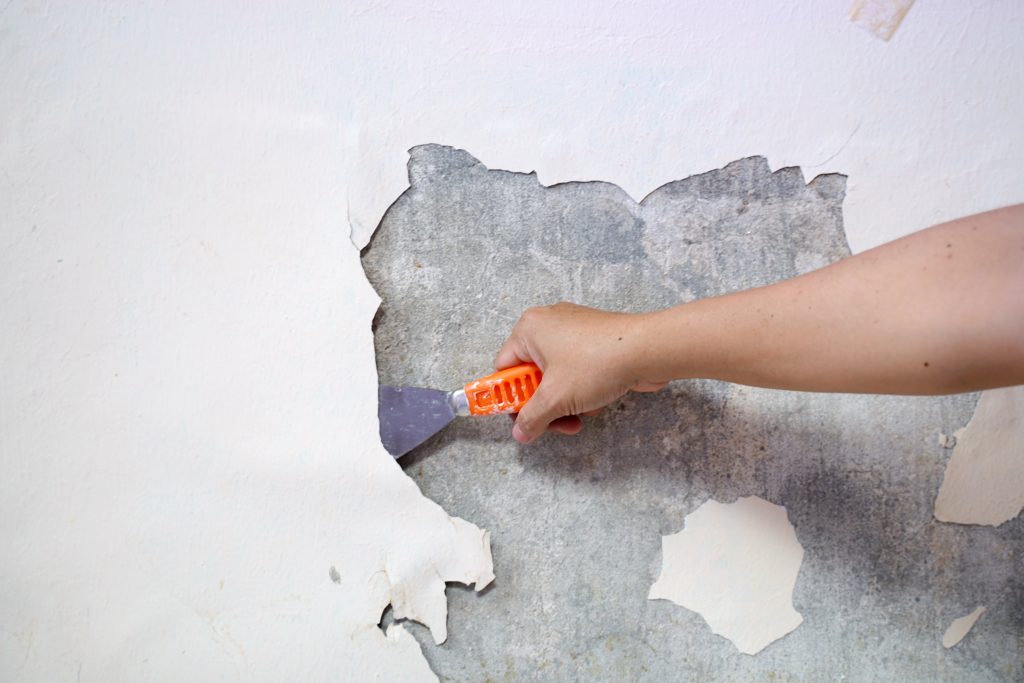
Repairing Imperfections
With clean walls come the repairs for a professional finish, so it’s time to get the tools out and get to work.
- Patching Techniques: Small damages can be fixed using appropriate fillers, aligning with the wall material.
- Smoothing Larger Repairs: For significant damages, employ drywall patches and joint compound, followed by a thorough sanding for a smooth finish.
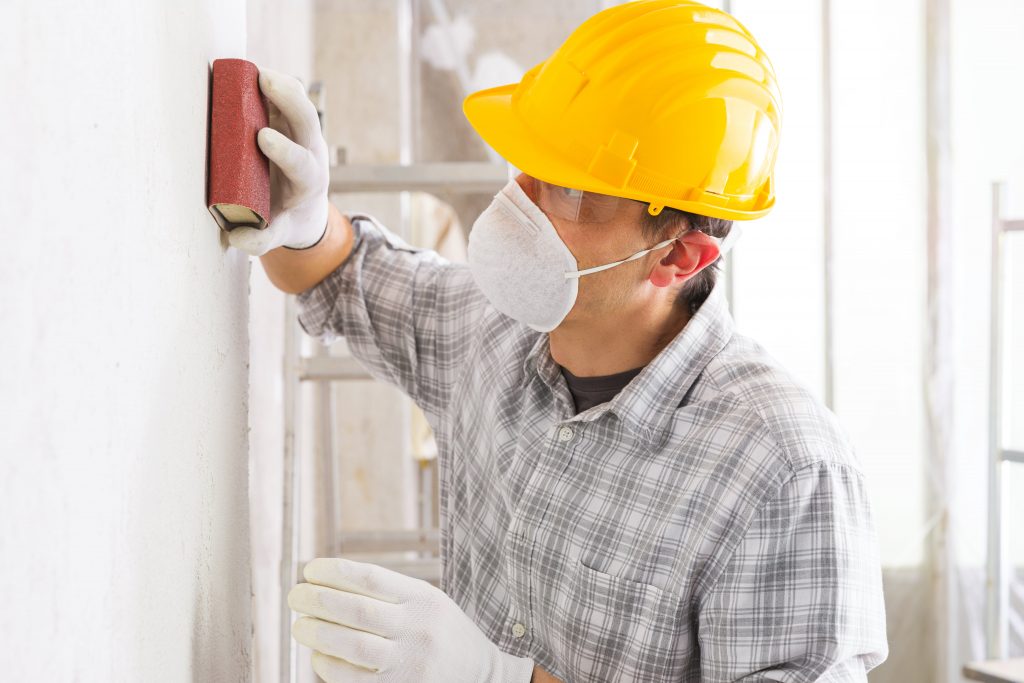
Sanding and Smoothing Surfaces
Effective sanding ensures a smooth canvas for painting. Sanding your walls takes off the finish of the previous colour and allows for the paint to stick better. Here’s a few tips to figure out what you might need:
- Correct Sanding Tools: Utilise the right sanding tools, such as sanding blocks or orbital sanders. Don’t forget safety measures like a dust mask.
- Detailed Sanding: Focus especially on areas with patched repairs or where old paint is thickened, ensuring a level surface for the new paint.
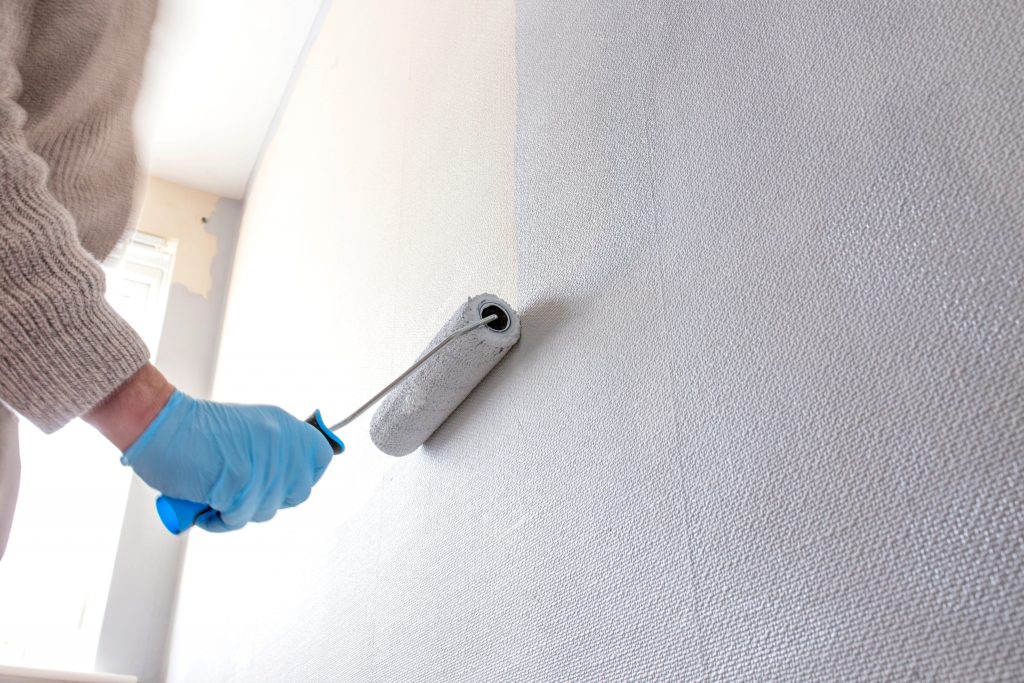
Priming Walls for Paint
The last thing you want is for all your prep work to go out the window so whether you’ve hired a professional team or not, applying a layer of primer is vital for a long-lasting paint job.
- Benefits of Primer: It improves the adherence of the paint, provides a uniform base, and can help in covering stains.
- Choosing the Right Primer: Match your primer with the type of new paint and the condition of your walls.
Choosing the Right Paint and Finish
Selecting the right interior paint is essential, as the base and the finish can set the right tone for the room and make it all come together.
- Considering Room Use: For areas like kitchens and bathrooms, opt for moisture-resistant paints. Living areas may benefit from more durable, washable paints.
- Paint Sheen: The finish of the paint (matte, gloss, etc.) affects the appearance and functionality of the room. Choose based on the intended look and room usage.
To read more: How to Choose the Right Paint Colour for Your Home
Hiring Professional Painters
Professional painters, whether interior or exterior painters, bring expertise and efficiency to your project, so if you feel like handing the roller over to them, here’s what you get:
- Expert Preparation: Professionals are adept at the steps to prep walls for painting, ensuring that all of them are meticulously followed, allowing for a perfect finish.
- Quality Assurance: Their experience with various types of paint ensures a smooth, long-lasting finish.

Go Professional With Elite Painting
Knowing how to prepare your walls for residential painters comes from practice, however, it is a crucial step that ensures the success and longevity of your house painting. Whether you’re DIY-ing it or getting a team of professionals in, understanding wall prep is essential. By following these guidelines, homeowners can expect a paint job that elevates their home. Elite Painting, the professional Perth painters offers hassle-free, Dulux-accredited work, allowing you to expect and receive a flawless finish to your house painting revamp every time. Get in touch with us to schedule a consultation and breathe new life into your property today.